Wednesday, August 27, 2014

Day 67: Nail polish Indie swatches

Todays post is all about indie polishes. I am going to share with you  some of my gorgeous polishes by Colores de Carol. All of these have been bought by me. ALL OPINIONS are my own, and i am not paid and none of this is pre-scripted. You can trust that my opinion and words, are all coming from me.

Ok. Now the fun part. 100 % macro shots
All links and names of indie makers, will be provided below each picture. ENJOY! :)

Above is Atomic Tangerine "This medium orange base is packed with purple micro bars, hot pink and green hexagonal shape glitter and black diamonds."  (Quoted from coloresdecarol)
I really, really, really, love this orange glitter polish. From the tiny micro bars to the random black diamonds, all of this screams OCTOBER!! I look forward to using this indie polish and maybe add some nail art pumpkins or two. :)
You can find this nail polish, on sale, HERE

Above you have: White Dream by Colores de Carol
It is a clear base polish, filled with white squares, iridescent squares and pearlesecent tiny hexagons. I think, this is the absolute BEST POLISH for a WINTER nail art theme. Oh yes! I shall revel in snowy weather by doing me nails with this beauty. Mhhm. Yes indeed. This polish is also sold out folks :(


Above is: Heart of the ocean by Colores de Carol. 
It is a deep, navy jelly packed with holo sparkle that builds with each coat. What a great formula! Super smooth, no mess, no gloop or glop, and an overall fabulous navy blue holographic polish to own.
Unfortunately, this polish is no longer on her website. It was part of the Love's maiden voyage collection but has since been sold out and removed. I am so glad i bought this when i did!! 

I hope you enjoyed looking at these macros as much i did! Don't just look, save em, download em, use em as wallpaper and screensavers. Get creative, and make a collage!


Until next time,

"Have a grand day and dont forget to Glaze!"


Thursday, August 21, 2014

Day 66: Glitter nail polish removal? Does it get frustrating?

Hello lovelies. Today's post is ALL ABOUT glitter....and removing it. :/ EEk. How many of us love to apply
those beautiful drugstore glitter polishes, and for those who use indies, oh how we LOVE our glitter bombs.
I myself own over 100 indies and do love me some glitter as well, BUT. Of course theres a BUT :) BUT when it comes time to take glitter polish off the nails, oh what a Drag! I dont know about you all, but if I was being honest with myself, I do not like taking glitter polish off!! I dislike it SOOO MUCH, that i secretly hope the latest manicure im rocking, if it has glitter, will stay on as long as possible. No lie. Don't you ever feel like that? Or am i alone in this? COMMENT and let me know I'd love to see if the odds are for or against me. :)

Moving on. Below i will discuss the most common techniques used to take off glitter nail polish:

1. Aluminum foil 
2. Cotton balls
3. Rubber finger tips Link Here
4. AND MY NEW FAVE: FELT!!

 Yes, you heard me correctly. Felt is my new go-to for taking off glitter polish. I saw this somewhere online, i cant recall where, so please, if you are the person who originated this idea, CONTACT ME and i will give you credit.

 On the topic of felt. Why do I LOVE IT? Because it works and better than most glitter off techniques.

Issues with Foil, Cotton and Rubber tip techniques:

1. You have to cut foil in 10 pieces. (dry fingers is definitely gonna happen with this technique.)  I hate it! I tried it a few times, letting my poor fingers soak in polish remover/acetone for X amount of minute. IT made my fingers look like 80 year old raisins. UGH! No thank you

2. Cotton balls suck for glitter removal. They just do. There is no other way to say it. I hate all the stringy pieces that get stuck around the glitters and it tears so quick.10 cotton balls later and there are still stubborn glitters stuck to my nail bed. It's highly upsetting and rarely rewarding. For me anyways. You may love it. Well, kudos to you. Wanna cookie? ;)~

3. Rubber finger tips. I came up with the idea as i was watching someone sewing online. I noticed this rubber thing on their thumbs and thought, "OOOH maybe i can use that for nail polish removal" To give it a comparison, its like the foil method, but with rubber tips.
BENEFITS: Now, the rubber tips are more sturdy and dont slide off easily like foil can. Also, you just clean the rubber tips off with some water, dry em, and save em for next time. This method is definitely in my top 2 but the Felt, is JUST GENIUS!


No, i do not have pictures of actually using the felt, though i have used it (how else can i do a review, huh?)
So please, trust me enough to buy some felt and try it with your next glitter bomb manicure.

The Felt piece in the picture, is precut and you can find them in any craft stores. Their only a few bucks, $5-8 the most. If you're smart, and you have a HOBBY LOBBY close by, you purchase these and use the 40% OFF coupon they have daily, on non sale items. See. ONLY a few bucks and you get 50 felt pieces! I was able to use JUST ONE FELT SQUARE to take off 5 glitter filled fingers. I am telling you, they ARE GREAT for glitter off removal. No sliding off or wrapping like foil, no tearing/shredding like cotton, and no need to even bother with the rubber tips.You gotta try it. That is the only way. I really hope you do and if you take the FELT LEAP, you must, pretty please, with lots of cherries, COMMENT BELOW or tag me on Instagram (liquidsquidnails) and share your results with me.

Until next time,

"Have a grand day and dont forget to Glaze!"


Wednesday, August 13, 2014

Day 65: Comfort Zone - best purchase yet

Today we're gonna talk about comfort zone. Every body has one right? NOPE! Everyone does not own, but should own, this very economical little fan made by Comfort Zone. ha ha ha . Had you going there huh? Thought we were gonna talk about chocolate and bubble baths as comforts? Not today. Comfort zone is a very odd name for a company that makes fans, NOT chocolate.

Anywho, before i get caught up in a tangent , i want to discuss with you on the little fan i now own.

I have been wanting something to help dry my nails a little faster but nothing was working out. I have seen many people on instagram with their nail dryers, towels, ice, sprays etc. and i just saw mediocrity. I felt like those things were not going to be all that they claim to be, so i just keep looking and waiting.

One day I see a 15 sec. instagram video from slotteazy showing off her nail section, which is fabulous by the way! As she was moving around and landed on her desk, i spotted a little fan sitting off to the corner. Lightbulb went off right away, and i contacted her to find out about her little fan and where to buy one. She said she bought hers at target for like $10-15 bucks. Well guess what? Target is almost an hour from me! So taking a drive down there, hoping they would have this little fan, but knowing they might not, was not an option for me. I sadly gave up on the little fan and all the mental imagery of sitting in front of one as it dried my nails....so life went on.

Decided to take a trip to big lots just to browse and window shop, so to speak, and guess what i find?!! The little fan for ONLY 8 BUCKS and in 3 different colors (red, purple, black)!!! My pulse quickened and i snagged the last black fan on the shelf. Below are the pics of this amazing little fan.


I LOVE, LOVE THIS LITTLE FAN!

Specs from mycoolingstore.com :

"The Comfort Zone CZHV4 4 inch high velocity table fan uses a minimal amount of electricity so it only costs pennies a day to operate. It doesn't require any installation or mounting and sits right on your table or desk. The CZHV4 4 inch high velocity table fan provides cooling and adds ventilation to any area it's needed. Can be powered from any USB port or by using the 110V plug.
Compact Design
The Comfort Zone CZHV4 4 inch high velocity table fan features a compact design that's made to provide cooling and ventilation while saving you space.
Quiet Operation
The CZHV4 4 inch high velocity table fan operates quietly so it can be used wherever it's needed.
All Metal Construction
This high velocity table fan has all metal construction to make sure it lasts a long time.
Adjustable 360 Degree Tilt
The Comfort Zone CZHV4 tilts all the way around to deliver the air flow in any direction it's needed.
Product Dimensions: L: 6.00" x W: 7.00" x H: 4.00"
Product Weight: 1.68 lbs.

All the specs ABOVE, ARE TRUE. This little fan is quiet, powerful, and efficient.
I feel like my manis dry faster because of this fan.

I HIGHLY SUGGEST INVESTING in this little guy, be it for nails, cool off while on cpu, or small bathrooms that need air flow. If i could, i would have bought all of them and saved them for christmas gifts.

Let me know please, what you think?

The Giver collection - awesome giveway

If you havent entered, what are you waiting for?
 Click HERE


Tuesday, August 12, 2014

Day 64: Which hand pose? Indie polish swatch

Hello lovelies. Today's post involved nails. *gasp* what a surprise , right?  ;) I am currently playing with the idea of hand poses and wondering whether to have a signature hand pose or go with the flow.
This decision will be based upon your HELP. 
I am going to post 7 hand pose pics below. Starting from the first pic to the last, imagine their numbered 1-7 , with first pic (just below this text) is pic #1 and pic #7 is the last pic. Got it? Good.

K. Here we go.

THIS LAST PIC IS pic #7

So.....which pose do you prefer? please FOCUS ON THE HAND pose NOT the pic quality. I took this with an iPod so let's not worry about pixels, resolution , mmmk? :) 

CHOOSE YOUR ONE FAVORITE PIC and comment WITH the number below. EVERYONE WHO COMMENTS will be entered into a drawing for a SURPRISE natural body product. That's all I shall divulge of this freebie. 


I LOOK FORWARD TO YOUR COMMENTS EVERYONE. 


Monday, August 11, 2014

Day 63: Pink Nail designs - indie polish - pink manicure

TODAYS ALL PINK! For those who faithfully follow my instagram, you will notice I have posted this many over a week ago. However, I feel it deserves a nice little slideshow all its own. So here it is. ENJOY.
cream polish on pink is: Sally hansen complete manicure in: almondine
The baby pink on ring finger is Sally hansen hard as nails in: hardcore party. 

You like? If you would like a list of all polishes and indies I used, comment please and let me know.

Until next time,"Have a grand day and dont forget to Glaze!"


update: Kathy asked and so here are the polishes used:
Pinky purple glitter indie on middle and pinky are: Smokey mountain lacquers in: "lets get pinky"
Pink on index finger is Rain City laquer: "smitten"
Black detail is just a striping brush polish
pearls are from ebay, i think. you can find them easily online.

ENJOY!!!! :) :) 


Sunday, August 10, 2014

Day 62: Nail care and maintenance


Hello lovelies! Today's post is all about NAIL CARE. I shall share my goodies, only if you promise to incorporate at least 1 tip from my nail care regimen. Promise? Ok, good. Moving on :)

I get asked alot, via instagram, friends, family etc. about how I manage to take care of my hands and nails. The answer is quite simple: I MAKE TIME FOR THEM. Just like people make time for work, fun, hobbies, etc., I TAKE TIME OUT to care and tend to my hands. Why wouldn't I take care of them? They get as much publicity, stares, and whispers, as my face does. Right?

Lets be real here, we always look at people and think stuff about them, be it good or bad. Don't you think the same happens with our hands? What?? You thought that bag boy was just being polite and not staring at your mug? NOPE! He was was too busy looking down and gawking at your crusty, dried, spinster looking hands!! *gasp*  Tee hee teee heee. (Don't be offended peoples, its all fun and humor...but if it did offend you...are you rocking some dried up spinsters? hmm. just saying :) *shrugs*

So, what do I do to keep my hands moisturized, primped and proper? Well darling, IM GLAD you asked!
Here we go then. Enjoy!

This STEP-by-STEP is for when you have nail polish on and the time comes to TAKE IT ALL OFF. tee hee. :)

 STEP ONE: I apply coconut oil all over my nails and surrounding areas, with a cotton ball or two. I like quality and wholesome products that have the least amount of adulteration,hence why i use organic. The reason I apply coconut oil BEFORE i take off my nail polish is, to moisturize and combat some of the dryness which comes from using acetone/nail polish removers. I find the skin around my nails is very GRATEFUL for this Pre-prep step. :)
 Once i lather up my nails with coconut oil, 

STEP TWO: Acetone to remove polish. I use 100% percent. Here's why I use just straight acetone versus the other kinds.  A little blurb quote from Ana: "Acetone is the better choice since it dissolves the polish quicker. Less time scrubbing equals less drying damage to your nails." Click HERE to read the full scoop.


STEP THREE:  I wash my hands (plain old soap) to remove coconut oil, acetone and nail polish residue. At this step, i usually wash them again using BAKING SODA ,only, which helps to whiten nails, clean nail beds and just because .COME ON NOW, who doesn't love baking soda?!! You like cookies? Then you like baking soda. That simple. :)

STEP FOUR: I use sunflower,olive, or almond oil which i add to very hot water. This is what i call a HAND SOAK recipe. Quite simple ladies. If you want to spruce it up a bit ADD: milk, baking soda, honey, lemon, baking soda,( hint* can you tell i like baking soda? tee hee) peppermint tea (tea can stain nails) and/OR essential oils etc. to the water oil mixture. 

Sometimes I ADD milk or honey but do what you feel comfortable with and what you know YOU will keep up with. So if water and oil is about all you can muster, then that's good enough *thumbs up*

 BELOW: This is basically what the water and oil mixture will look like, once you transfer it to a metal or glass ( i don't recommend plastic since water and oil is very hot) container.
STEP FOUR: I then PLACE MY LOVELY HANDS into the oil water mixture and let them soak for 5- 15 min, depending how long i can just SIT there waiting... don't judge... j/k. I HIGHLY suggest you get a bowl BIG ENOUGH to soak your two hands completely. Whats the point of going through the trouble of preparing a hand soak, if your hands are not in the soak? Get it? I knew you were smart! (humor, its good for the soul) 
STEP FIVE: Wipe off my hands (using any rag or cloth) and done. THOUGH, I typically wash them after the soak cause i add milk, honey etc. and other ingredients that i don't care to leave on my hands ALL DAY LONG. Then, its time to apply hand lotion/cream, cuticle oil, OR whatever i have at hand, and patiently wait for 2-5 min to allow the creams and oils to soak into my nails and hands. 

BELOW: my nails in various stages and at different times but i like to think the nail soaks are really working. Understand, some of these pics were from my beginning nail journey and some are much more recent. 

A BEFORE AND AFTER. Nubs were how i started and bottom pic is a few weeks ago. The crappy lighting gives them the yellow tinge but their actually white and not yellow at all. 
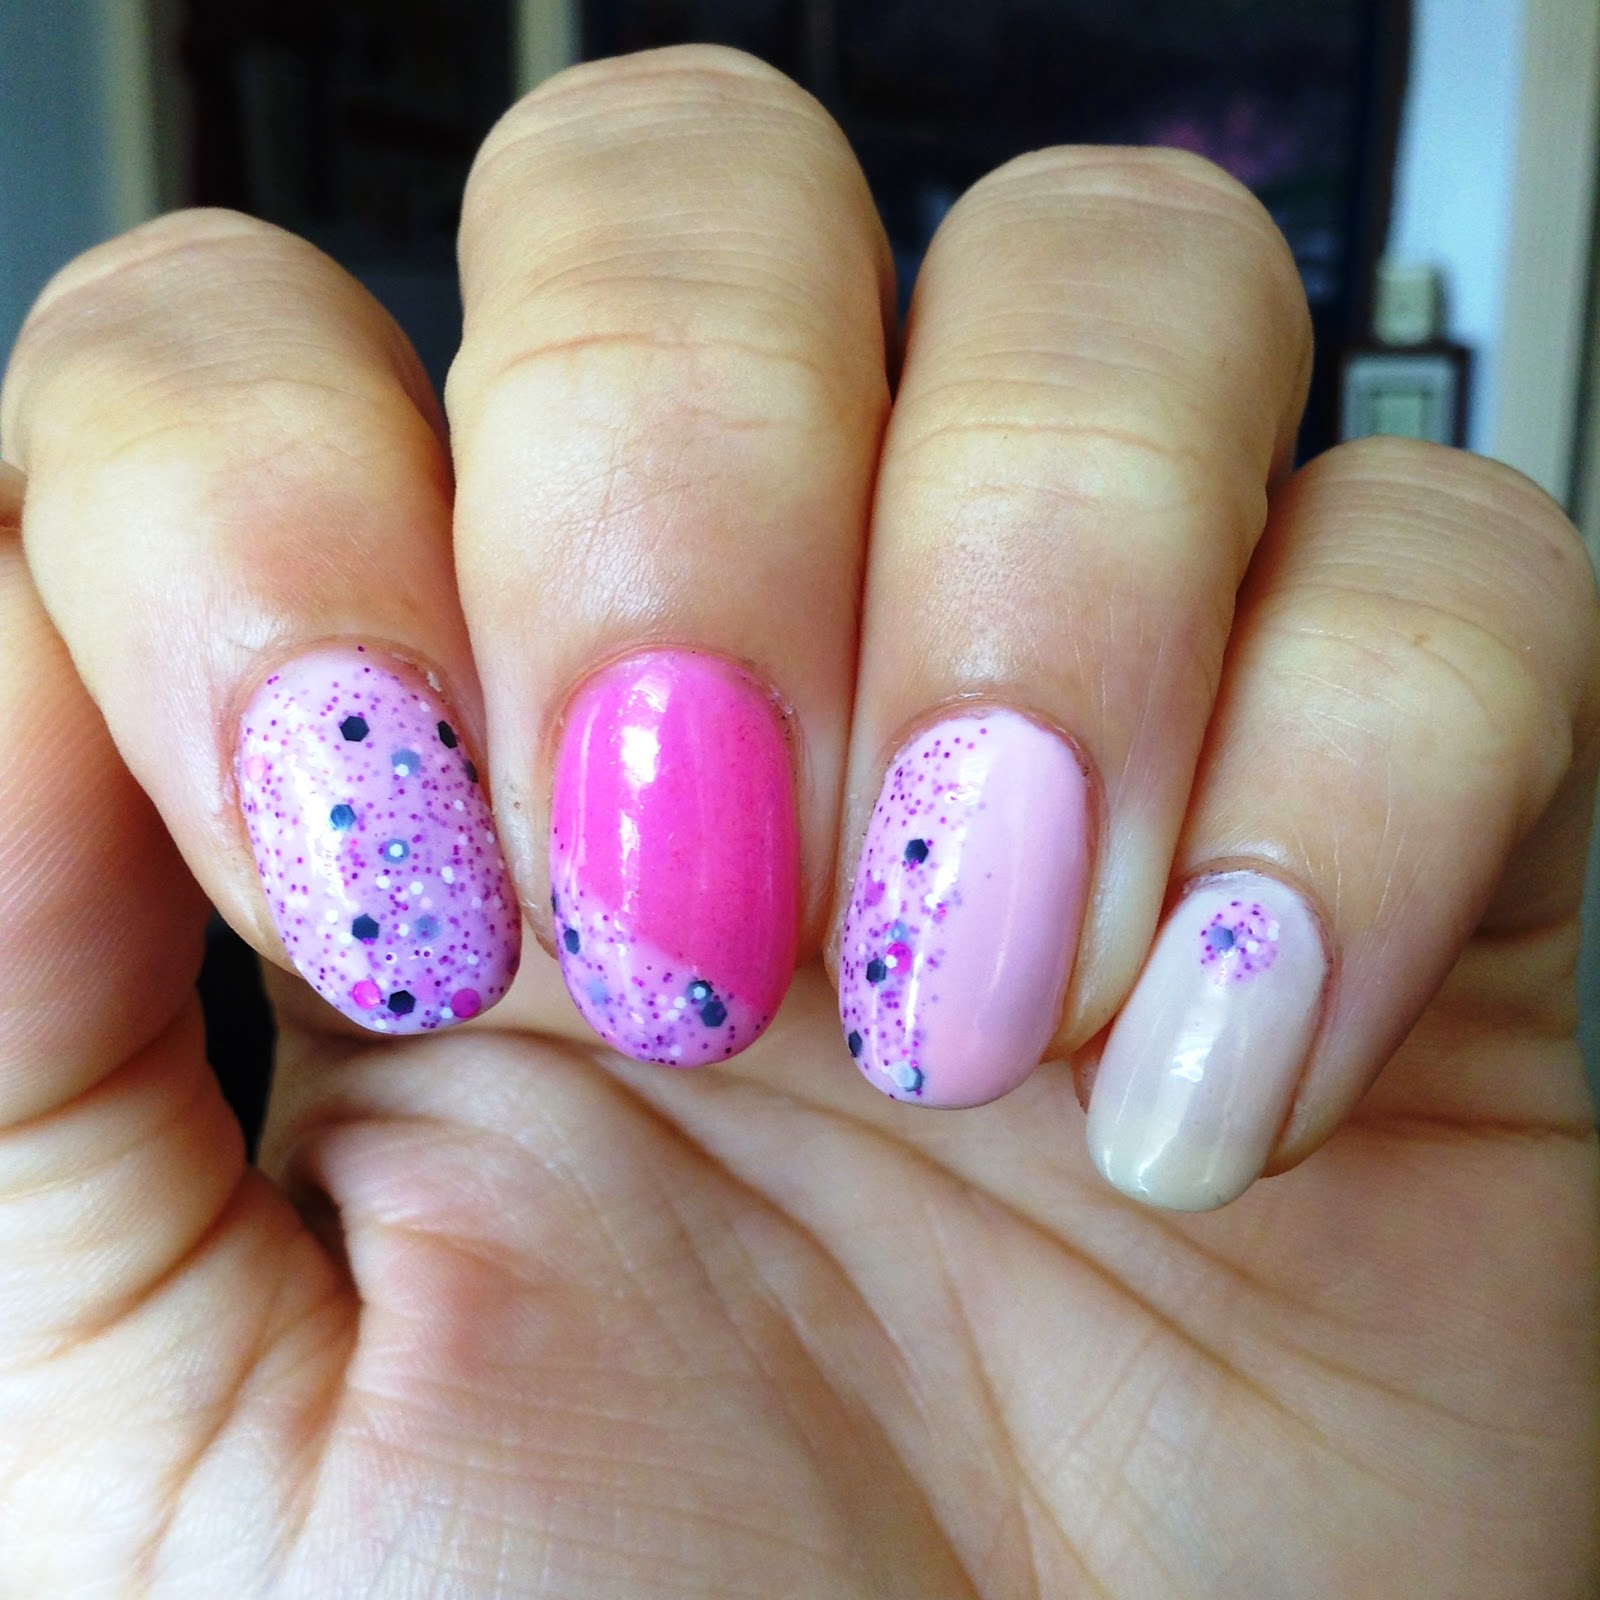
A pic of my nails a few months back. As i hope you notice, my LOVE of baking soda is not in vain. Because I use baking soda after EVERY nail polish removing session (when you wear glitter nail polish and then time comes to take it off, it becomes a session. Trust me. Anyone know the feeling? *drag* darn you glitter *fist pump* *inside voice* : " but i love my indies".....and thus the session continues)
and it helps to keep staining nail beds at bay. 
My pretty squared nails before I changed them to a more round shape which I am currently rocking now. Got tired of squares. Sue me.  *blows a raspberry*


I hope you enjoyed this STEP-BY-STEP post on how i take care of my hands and nails. 
ANY QUESTIONS? COMMENT BELOW. 


Until next time,

"Have a grand day and dont forget to Glaze!"


Monday, August 4, 2014

Day 61: Born Pretty Store - review on nail stuff

Hello Everyone! Todays post is about some items sent to me by born pretty store.

 These are the flower nail decal stickers. These stick very well and are perfect to spruce up a simple mani into something elegant,chic and girly. i LOVE, LOVE that the flower petals have raised feeling to them, like soft felt.
 A close up of the flowers. The whole sheet comes with 12 different squares of different flower patterns. With so many pretty flowers and styles to choose from, this IS A MUST HAVE for a manicure party or girls sleepover. Plenty of stickers to go around.
 These darling gold studded hexagon gems are AMAZING! They are perfect embellishments to add to any nail polish color, design or even used in arts and crafts. The gold tone is good quality and did not chip or wear while wearing them.
 They are teensy, which i LOVE, only 3mm diamater so their not too gaudy. Want a bold statement? Add more then one and instant spectator alert. YOU'LL LOVE THE attention and the quality of these adorable studs.
FULL VIEW of the 12 square sheet. Theirs over 250 STICKER DECALS HERE! Wowza!!!! You wont have to worry about running out. You can even cut the squares and share whole sheets with nail art buddies, families and friends.

Link to flower stickers HERE
Link to Hexagon studs HERE
Link to the bornprettystore HERE
Want a discount??
Use code: YESX31 and get 10% OFF your entire PURCHASE!

Wanna SEE how I used the studs and flower decals in my manicures? CLICK HERE


Day 60: My nails of the day - Rimmel london blue - wet n wild- megalast

Hi everyone! Todays post is a very simple slideshow of my latest manicure.

I love the color combo of dark blues with the milky cream white polish and decided to share it with you all.


Enjoy!

The Creamy off white color is: Wet n' Wild megalast in: 2% milk. Pretty fitting name for it, right? :)
 The BLUE IS: Rimmel London Salon Pro in: Barmy Blue. I bought it at Cvs for $3 bucks i think. The formula for this color was a little streaky and thinner than the mango colored one i tried from this line. After 2 coats, the streaky look was gone.
 Just a few simple dots and color combos.....will be adding embellishments later :)

 And yes, i did indeed change my nail shape. I was getting tired of squares and wanted something different. What do you think? PLEASE LET ME KNOW in the comments below

The 2 colors I used. :) 


Until next time,
"Have a grand day and dont forget to Glaze!"